Admin Auction Guide
Step 1 - Register and Log In
Admin access to Bid Beacon is only available on a web browser from any device (phone, tablet, computer).
The downloadable app is great for guests but can not be used to access the Admin Dashboard or create an auction.
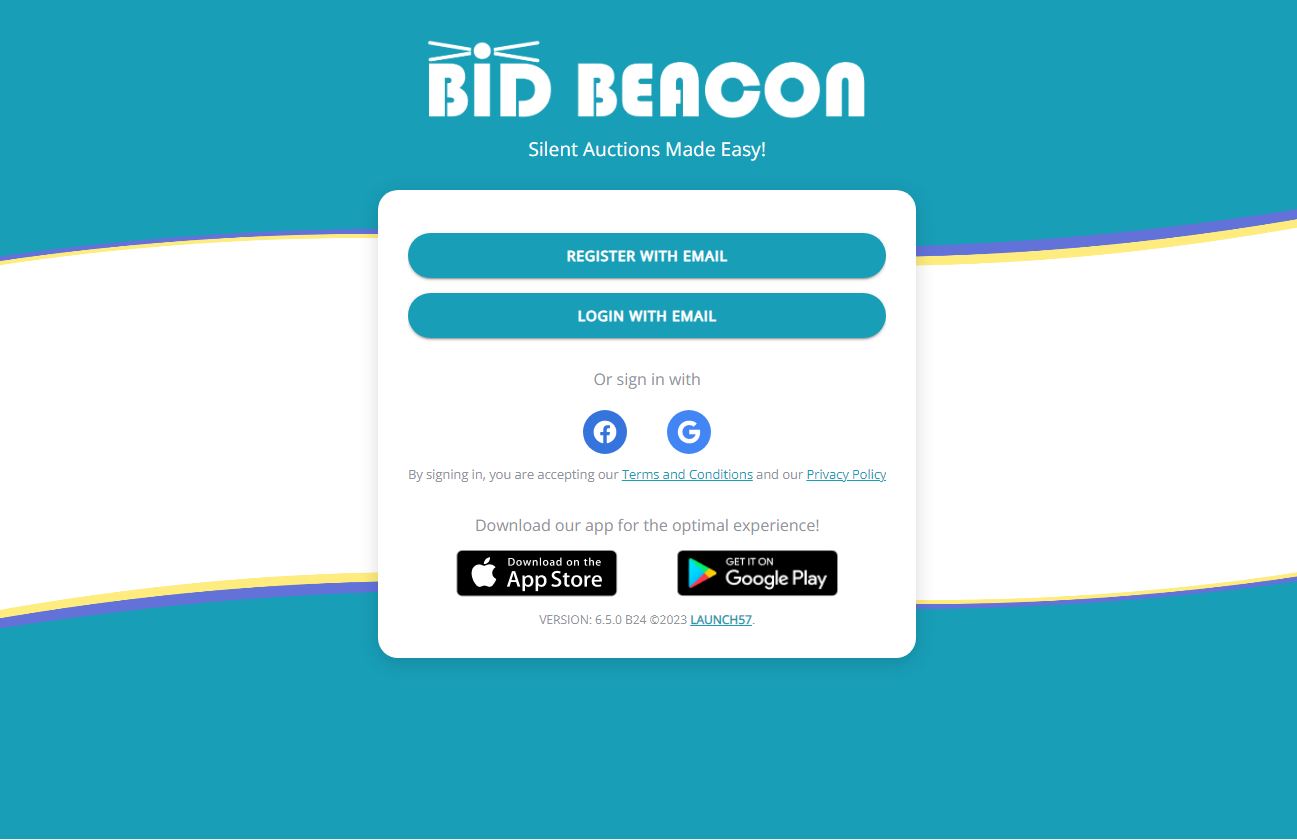
Admins and guests create accounts the exact same way. Go to app.bidbeacon.com and click Create an Account.
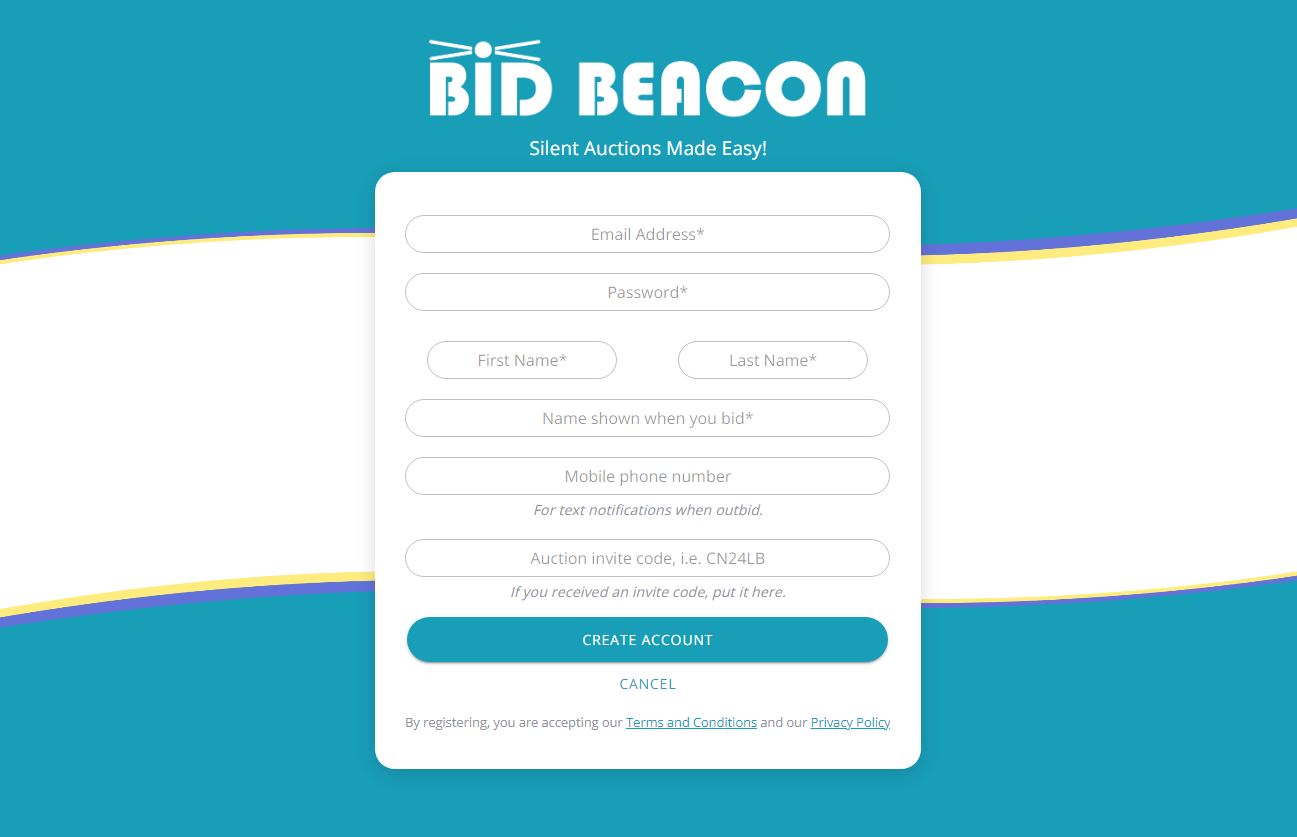
Fill in:
- Email Address: Used as your login credentials and for communications about your auctions.
- Password: Can be changed later if you forgot or mistyped
- First Name: Your first name
- Last Name: Your last name
- Display Name: Can be a version of your name, or something more unique
- Mobile Phone Number: Optional, if used, you will receive text message notifications.
- Auction Access Code: Leave blank for now
- Click Create Account
Step 2 - Create Auction
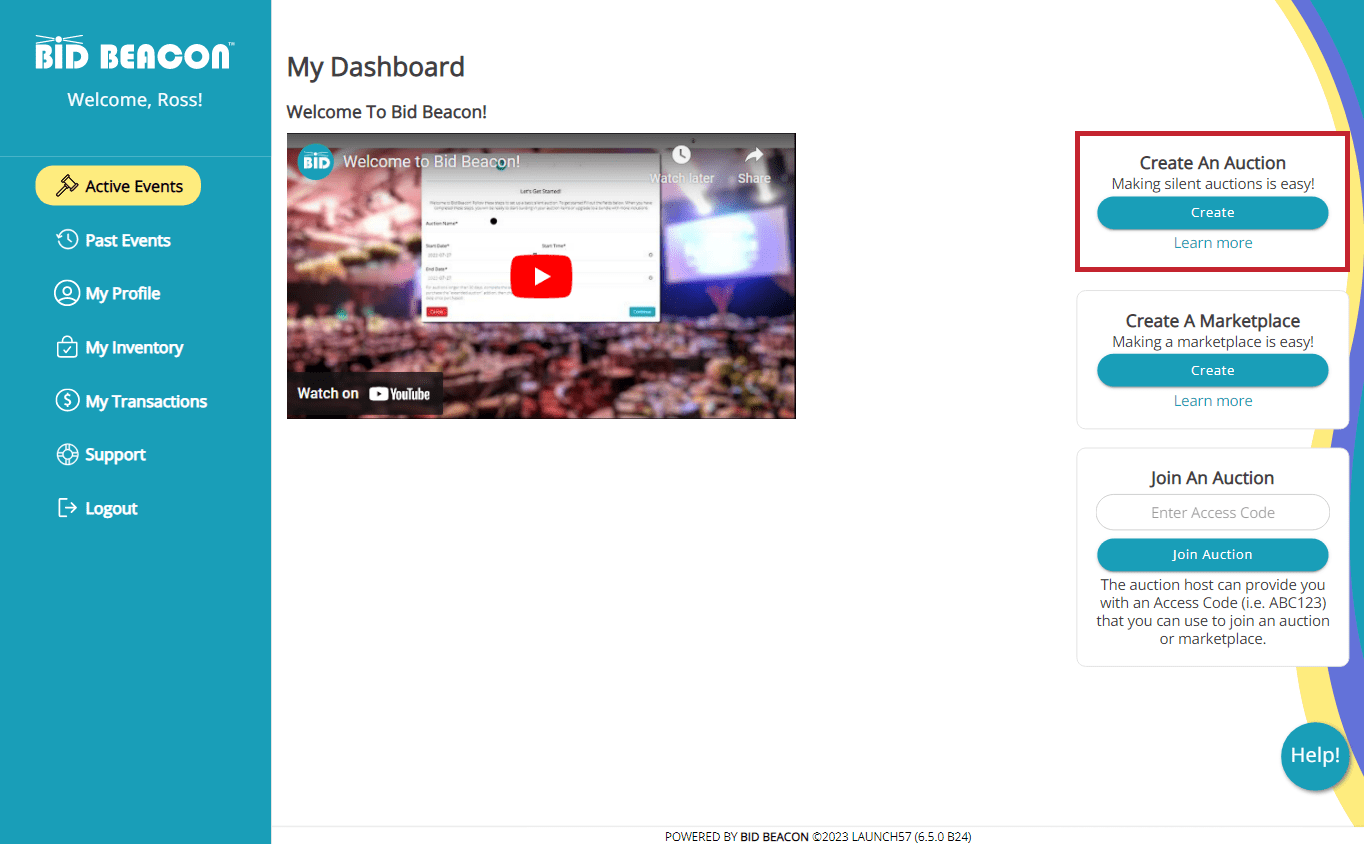
To start building an auction click the Create Auction button. Follow the
steps from the setup wizard to create your auction. Details provided within the
wizard can be changed later in the Auction Dashboard.
About Auction
Organization Details
Choose Auction Type
Review
About Auction
Auction Name
Auction Start Date & Time
Auction End Date & Time
*An auction can run for up to 365 days
Organization Details
Organization Name
Organizers Name
Organizers Email
Country *this determines the currency of your auction
State or Province: *if in Canada or USA
City
Choose Auction Type
Full Auction (formerly Ultimate Risk Free) – unlimited access to all Bid Beacon features and no restrictions.
Demo Auction – try us out and explore the features of Bid Beacon with a test auction.
Review
Confirm your details and then click Go To Dashboard to view your auction’s dashboard.
Step 3 - Set Up Auction
From your auction dashboard, work through each of the setup screens on the left.
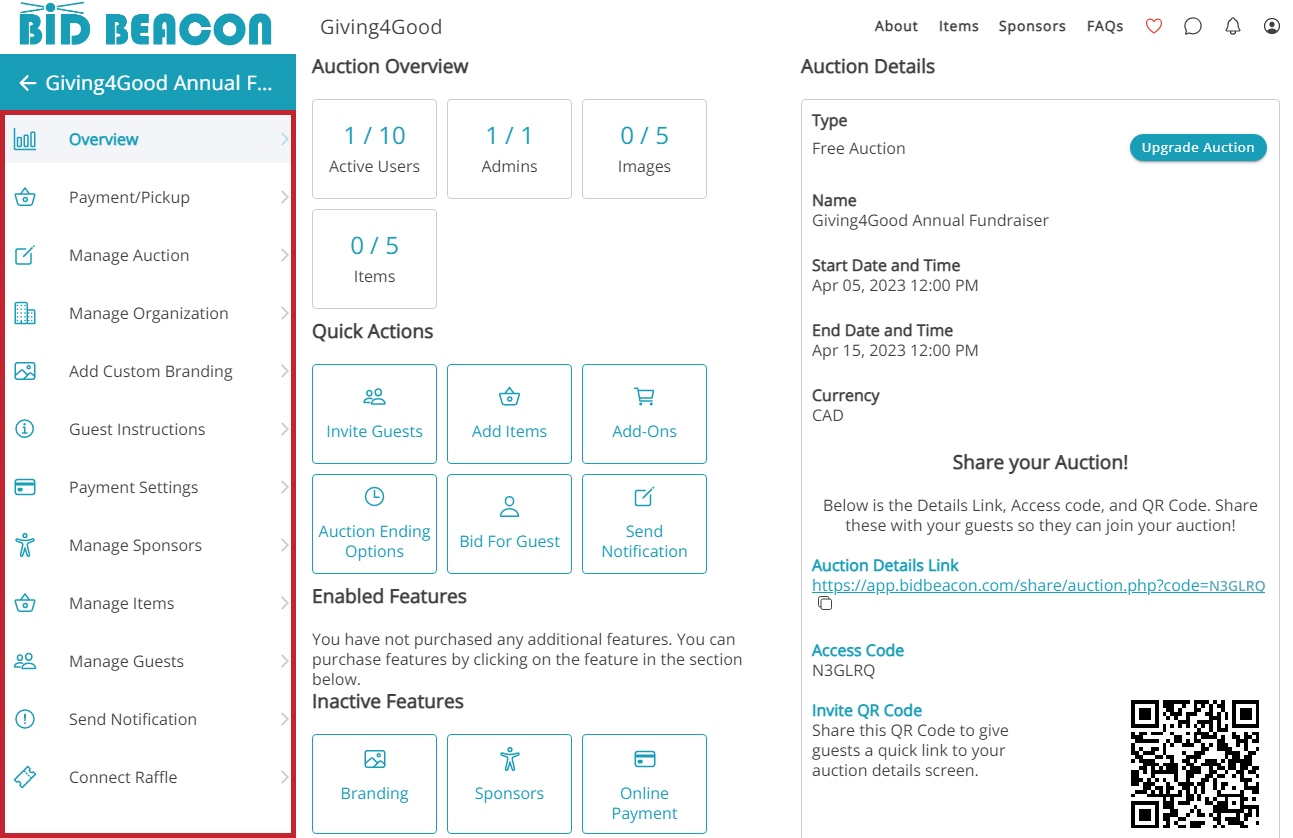
Quick Actions take you to pages you’ll frequent more often but all screens have important info you need to fill out to get the most out of your auction.
Step 4 - Payment Settings

From the Overview screen, click on Payment Settings to configure how guests will pay. This is a pretty important step – so we’ve created its own guide!
You may need a treasurer’s help to complete payment setup. Review our guide on adding administrators and share the payment guide with your treasurer.
Step 5 - Add Items, Categories, and Manages Taxes & Fees
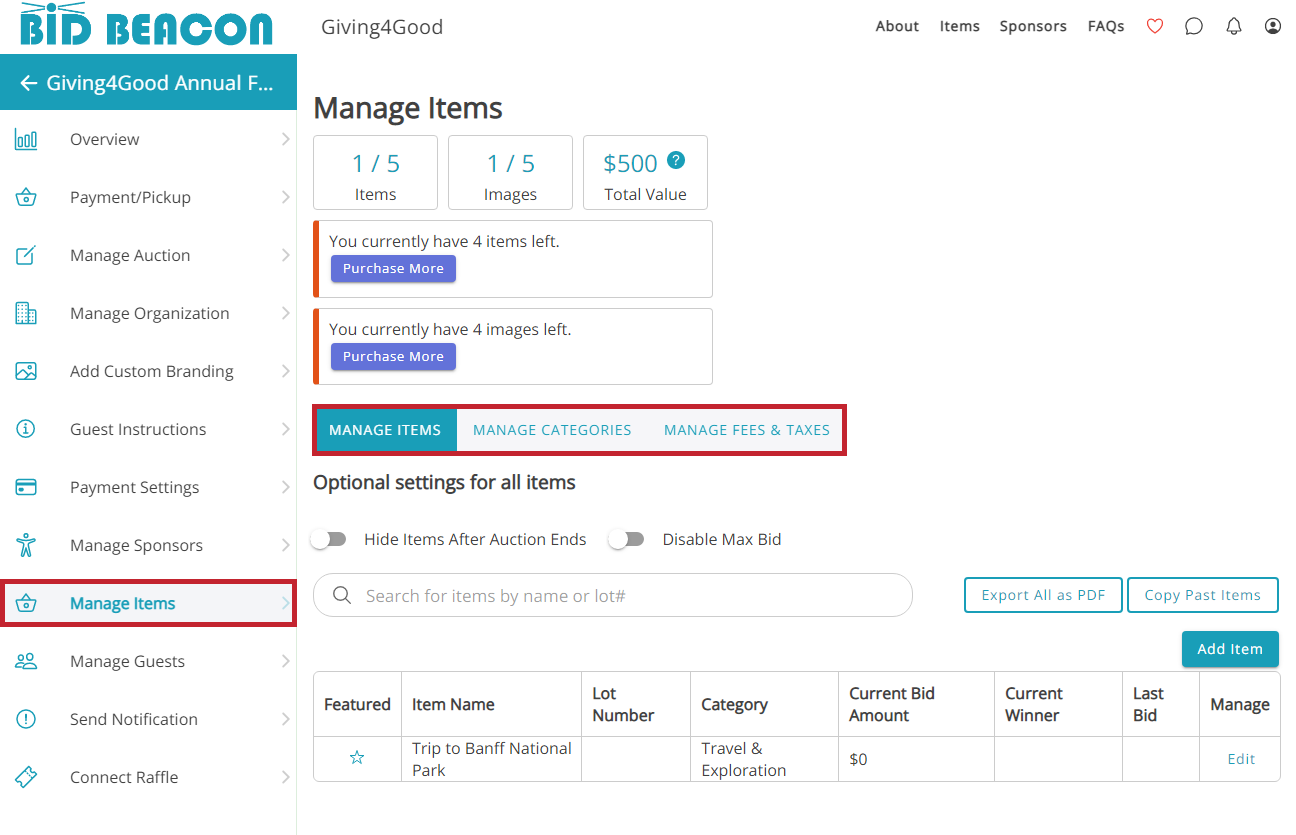
You can’t host a silent auction without any items. From the Overview screen, click on Manage Items.
From here, we can manage existing or create new items, categories and add taxes or fees to items if necessary.
You have the option to create 5 types of items:
- Bid Items – 95% of all items auctioned on Bid Beacon are these ones. Set the starting bid, and the increment and off you go.
- Blind Bid – these items require bidders to place their highest bid right off the bat. All bids are kept secret (even from admins), and at the end, the highest bidder takes the prize. If two tie, the highest bid placed first would win.
- Buy It Now – use for things like merchandise, tickets, or anything with a set price and limited quantity.
- Donation – this is for if you want to collect donations with no item attached.
- Live Item – for an item you’ll be auctioning off live with an auctioneer. Showcase the item but bids are not placed within the app. Once your auction closes, the winner can be entered on the live item to be invoiced for it through the app.
For an in-depth guide on creating an item, check out the article Add Your Items.
Placing items into categories helps bidders navigate and find items they are interested in quickly.
- Add new categories here, or within the item creation screen.
- Edit or delete categories.
- Reorder your categories.
- Personalize categories with custom background images.
- Hide entire categories until bidding opens. Admins will see them but guests will not.
- If you are required to charge Sales Taxes, you can configure the tax amounts here and they will be applied to every purchase. You complete the set up on each item.
- If you want to charge a set fee, such as a shipping fee, you can configure the fee name here. Then you will need to set it on each item it will apply to.
Step 6 - Share Your Auction
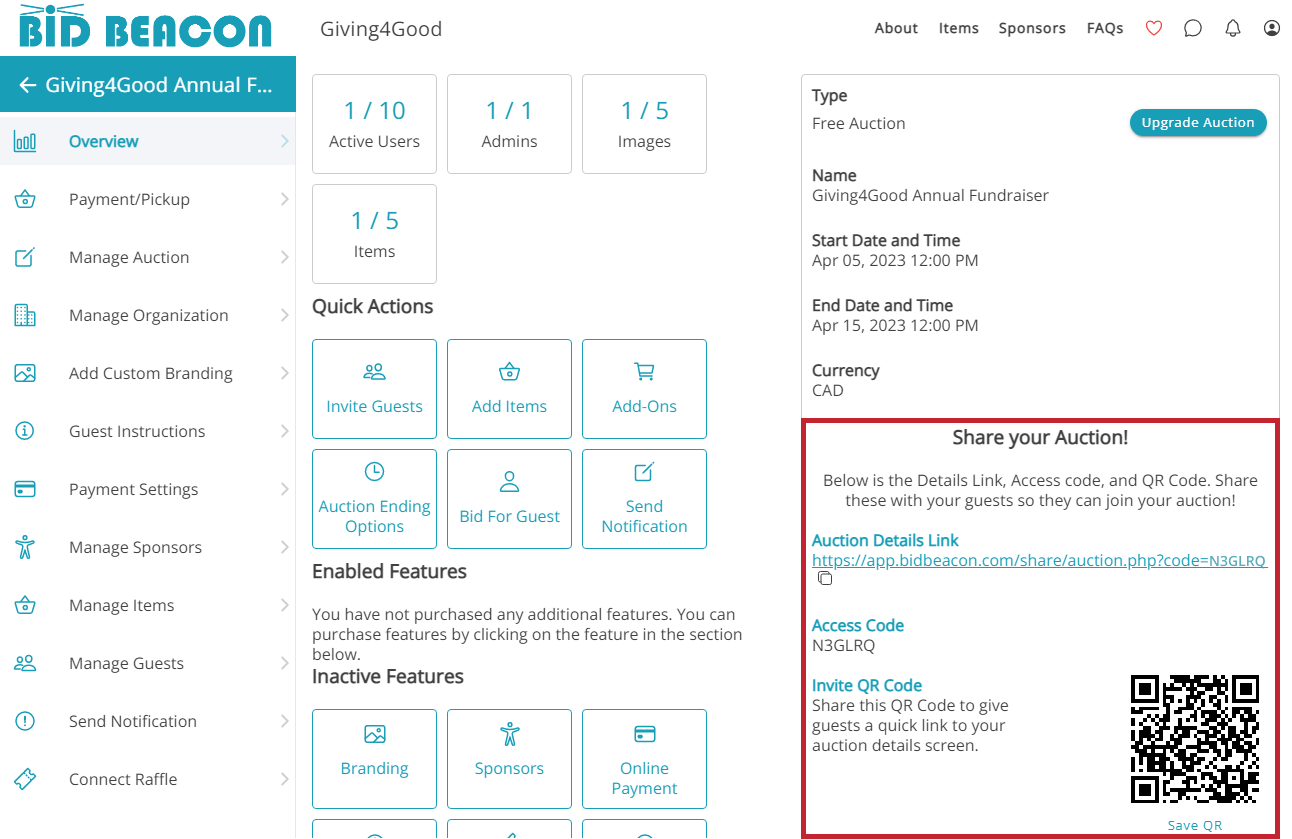
In addition to directly inviting your supporters and network to join, be sure to share and promote your auction in a variety of ways.
On the Overview screen, check out the Share your Auction! section.
- The Auction Details Link is great for buttons on your website, posting to your social media channels, and adding to emails.
- If your guests are familiar with the Bid Beacon app, sharing the Access Code is another way for them to quickly join your auction after logging in.
- Click Save QR to download your auction’s unique QR code which can be added to marketing materials like programs, posters on golf carts. digital media, or placed around your venue.
A few tips and tricks we’ve seen:
- Each item has its own link that can be shared by clicking the Link icon next to the Chat Bubble and Heart icons. Sharing these links on social media will generate a detailed preview of the item and its image.
- Invite guests from your last Bid Beacon event from the Manage Guests screen.
- Use Custom Notifications to promote new items, ongoing promotions, and more, all throughout the app.
- Maximize your fundraising potential by pairing your silent auction with a raffle. Bid Beacon can be integrated with Raffle Rocket so auction guests can purchase raffle tickets, and raffle guests can bid on auction items. A perfect way to cross promote your events and fundraise more successfully.
Step 7 - During the Auction
There are many things admins and volunteers can do to help move things along while the auction is ongoing.
- Use Bid For Guest to place bids on behalf of a guest who does not have access to a mobile device, or who may be having trouble using our system.
- Use Notifications to create fun messages that bring people back into the app. If you add new items while the auction is live, a notification will popup in-app to notify your guests.
- View progress and success from the Reports tab with up to date information each time you export them.
- Share item links and promote on social media, present on a big screen or any other means to spark excitement and increase bidding activity.
- Don’t mess with the payment settings during the auction, some settings can’t be changed once bids are placed.
- Don’t end the auction if you’re not truly ready for it to end as an auction cannot be reopened once closed.
- Don’t change your organization’s country or province/state (unless you need to!) because that changes the currency of your auction
- Don’t forget if you’ve set Item Reserves on items to confirm before the auction ends that you are still OK with it. If the bid is “close enough”, you can remove the reserve before the auction ends and a winner will be declared.
Step 8 - Auction End
When the auction ends, Bid Beacon will automatically close all bids, declare winners based on the highest bids, and then send out personalized emails to each guest.
- A push notification and text message will be sent to each winner letting them know they won one or more items and linking them to view their results.
- An email will be sent to all winners listing what they’ve won. We also include the payment and pickup information you provided on the Guest Instructions screen in your dashboard.
- A push notification and text message declaring the auction over and linking them to View Results.
- An email will also be sent thanking them for participating and letting them know they did not win any items.
- A push notification and text message declaring the is auction over and linking them to view the auction results.
- An email will be sent whenever items close, or the entire auction closes. These emails will indicate the total amount earned and next steps for you to take.
- A new Auction Closeout Report will become available from the Reports tab in the dashboard. You can export this as often as you want, and it will update each time with new info as people pay and pick up their items.
Admins will have access to the Auction Results screen at any time which can be accessed from the Payment/Pickup tab in the dashboard. For most auctions, all items will close at the end of the auction and then be paid for and picked up.
In a past update, we made it so items that close before the auction end date can be fully processed (paid by guest and marked picked up by the admin).
For this reason, admins are now able to track payments and manage pick up of items at any point in the auction. Keep in mind that this is only applicable if you have items that close before the auction’s end date.
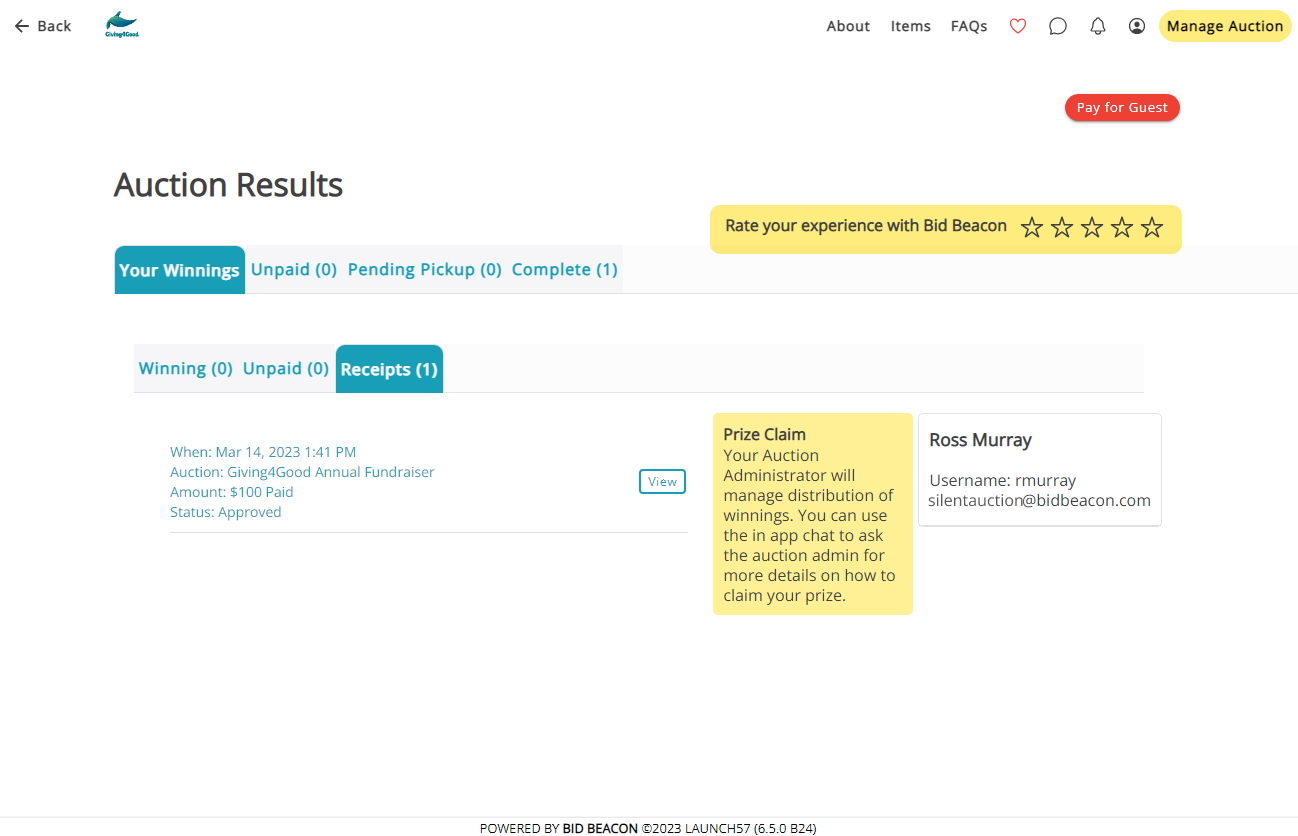
On the Auction Results screen, guests and admins will both see the Your Winnings tab. Next to this tab, admins will have access to unique Unpaid, Pending Pickup and Complete tabs to track and manage items as guests pay and pick up their items.
- Every admin and guest will have the ability to view a Winning, Unpaid, and Receipts tab which shows the items you are winning, won but not paid for, and receipts for items that are fully paid for.
- Prize Claim instructions appear here as written by auction admins on the Guest Information tab in the admin dashboard
- A Pay button will appear if Alternate Online Payments was set up for the auction
- An option to download their Invoice or Receipt. Invoice if unpaid, receipt once paid in full.
- A list of every winner and what they won, how much they owe and their contact email.
- A search bar to search for someone by name, email, phone number, item name or lot number.
- A Download All Invoices link to download PDF copies of every invoice in the list.
- An option to Save Offline Payment if you aren’t using Express Banking and the guest pays you outside of the app (cash, cheque, e-transfer, Venmo, etc.).
- Once items have been paid for, the transaction moves over to the Pending Pickup tab.
- Admins can view every item that has been paid for but not yet picked up.
- A list of every winner and what they won, how much they paid, and their contact email.
- A search bar to search for someone by name, email, phone number, item name or lot number.
- A Download All Receipts link to download PDF copies of every receipt in the list.
- A Mark As Picked Up button to keep organized and easily track those purchases that haven’t been picked up yet. Once a purchase is marked as picked up, it will move over to the Complete tab.
- Lists all winners who have paid for picked up their items.
- Each winner is listed with all of the items they have won. You can again download all receipts from this tab as well.
If your auction accepts payment through Stripe Connect, platform and payment processing fees are taken off each transaction immediately. For auctions using Alternate Payments (regular Stripe, Square, PayPal, offline payments), Bid Beacon will charge the credit card that was used to subscribe to CommuniBee for the platform fees incurred during the auction. If platform fees are not paid in full, the auction host will be restricted from creating future auctions until their outstanding balance is settled.